Last updated November 21, 2026
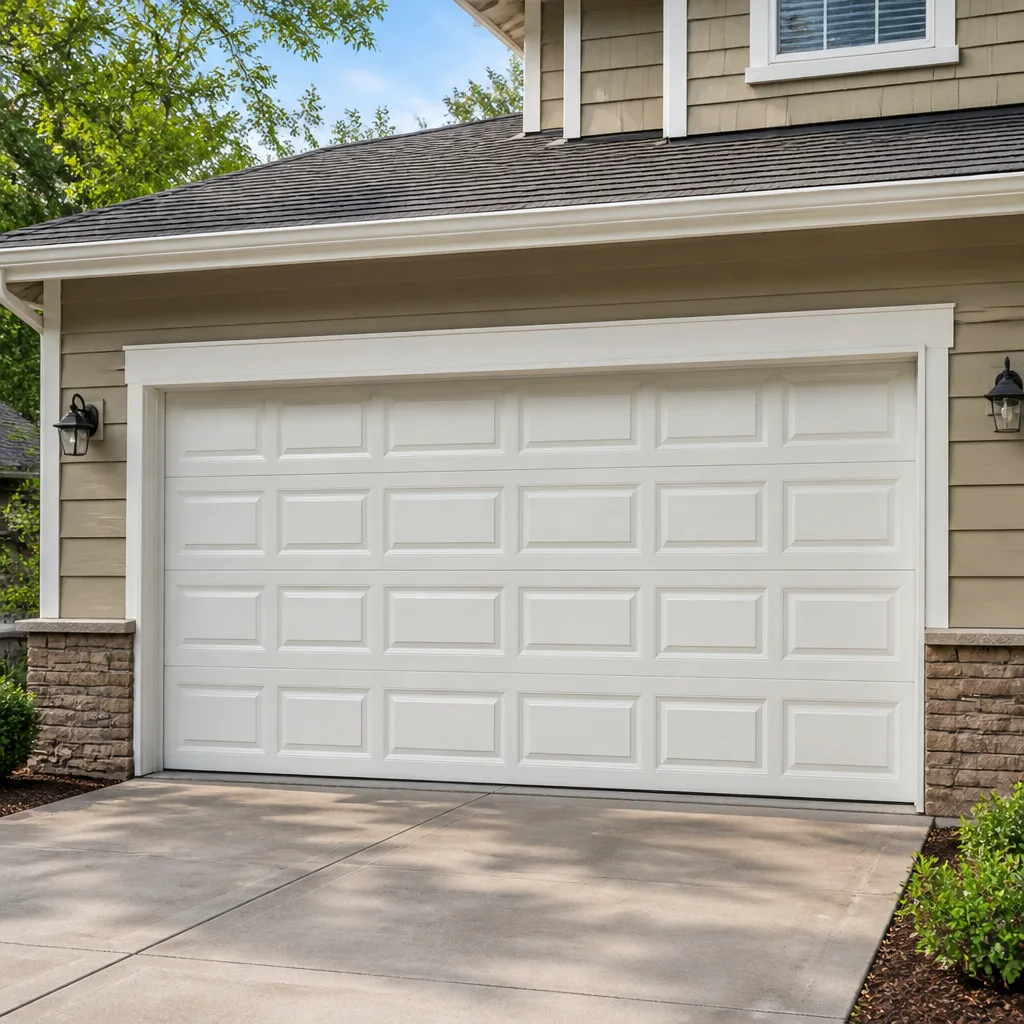 Raised-panel steel
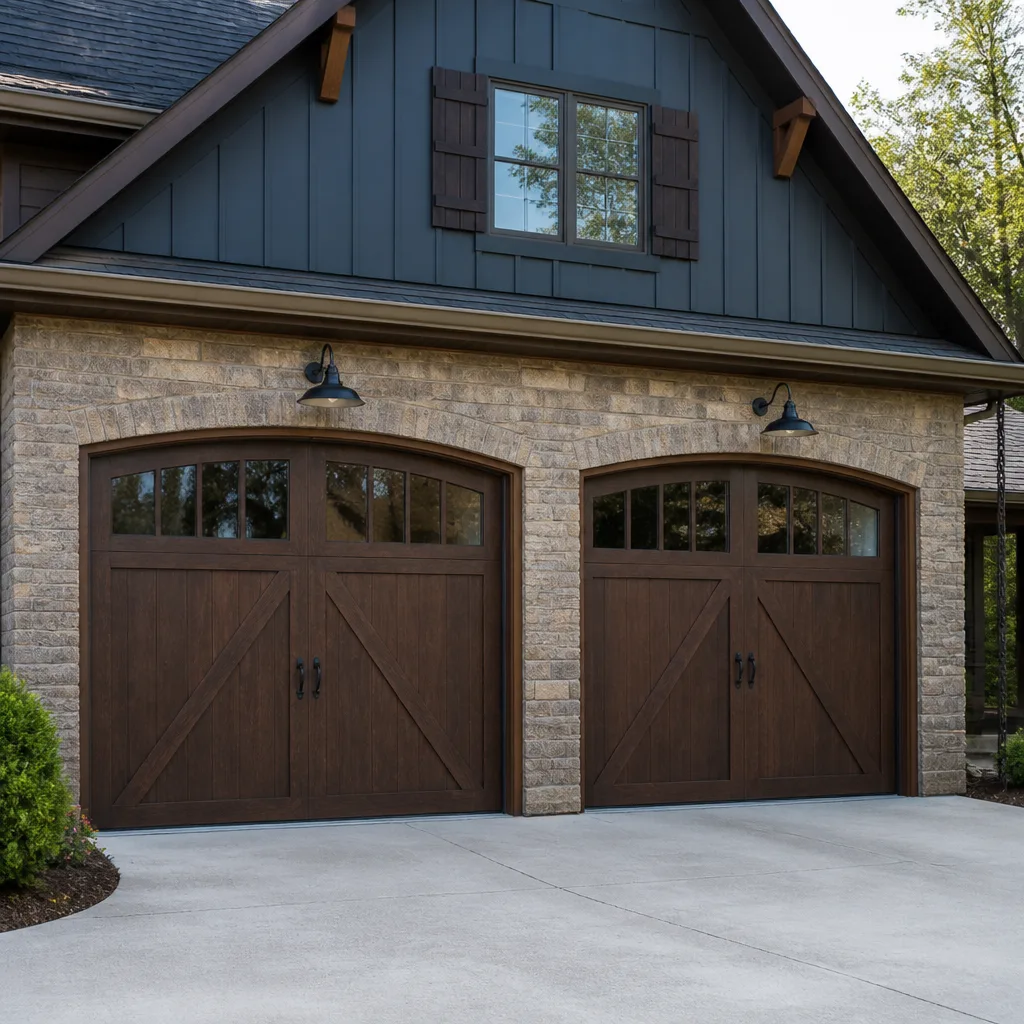 Carriage house
 Modern flush
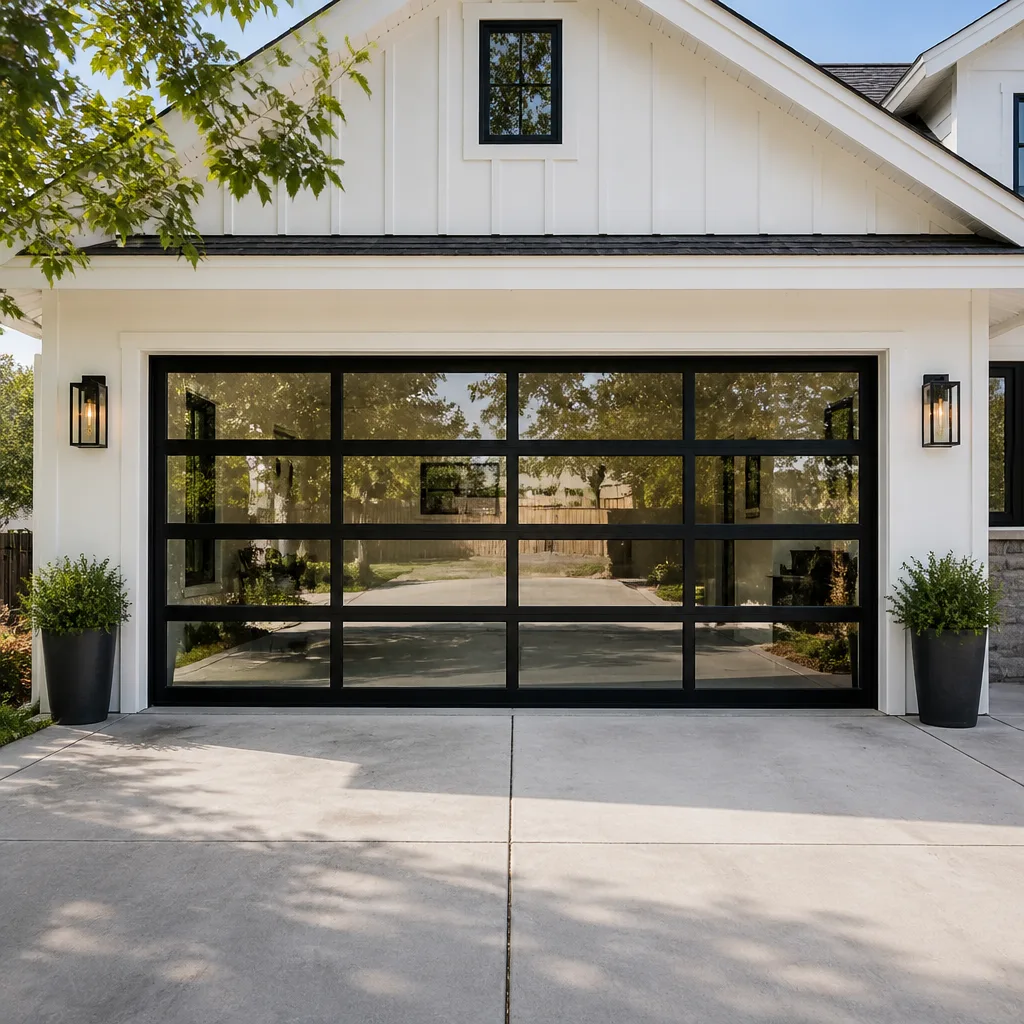 Full-view glass
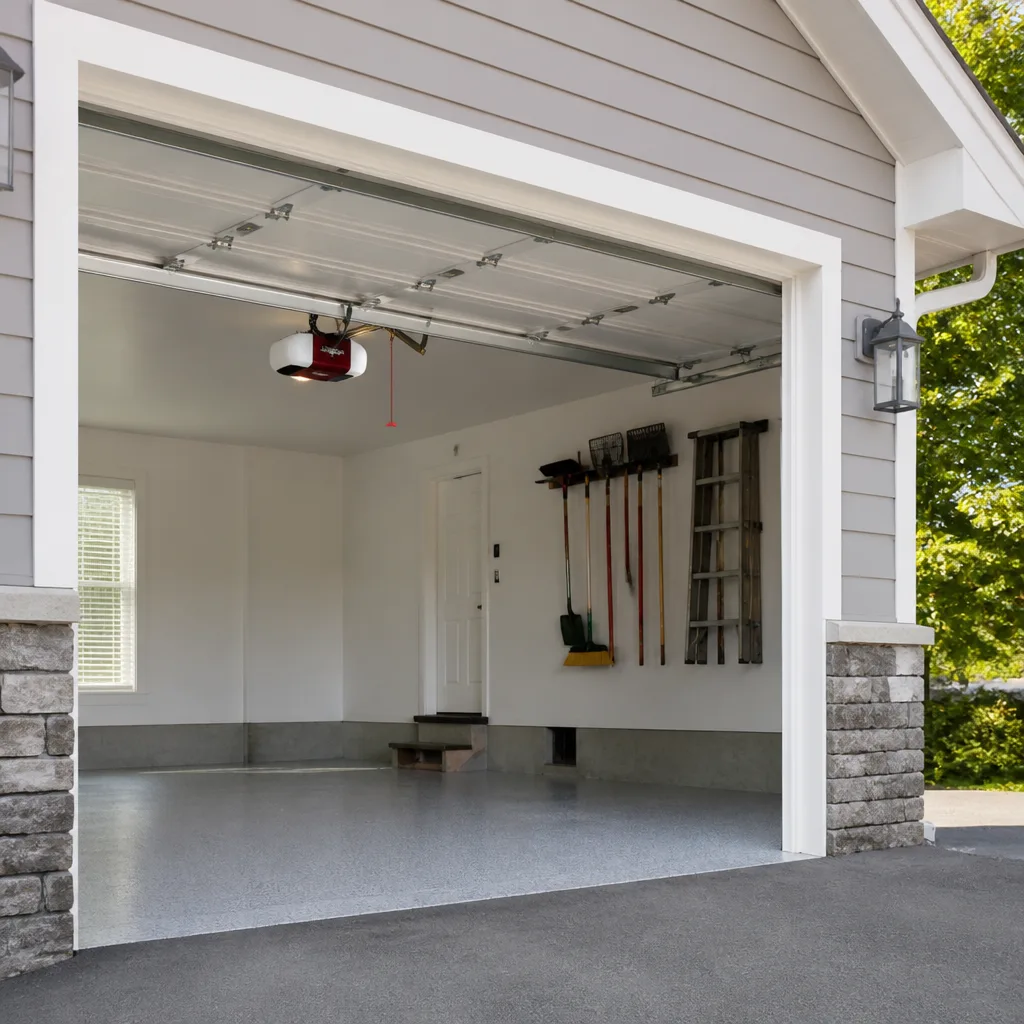 LiftMaster openers
 Chamberlain openers
Full 25-point door and opener safety check with every visit - springs, cables, rollers, tracks, and your LiftMaster or Chamberlain opener included
You get a price before we start. It does not change when the pro arrives.
Get your free estimateGarage Door Repair Maintenance Checklist for Chesapeake Homeowners
Most garage door advice you’ll find online was written for a climate that isn’t yours. The lubricant recommendations, the inspection schedule, the “check this once a year” cadence – all of it assumes mild, dry conditions that don’t match what a door in Chesapeake actually goes through. Here, humidity works on the hardware, storm season pushes the tracks out of line, and summer heat expands the panels until gaps appear where there weren’t any. The number one maintenance mistake we see isn’t skipping lubrication; it’s applying the wrong lubricant to hardware that’s already showing early corrosion, which traps grit and speeds up the damage instead of preventing it. This guide walks through a checklist built for Chesapeake homes specifically – what to check, when to check it, and what to photograph so a technician can diagnose the problem before anyone drives out.
Quick Answer
A garage door maintenance checklist for Chesapeake should focus on three local stressors: humidity-driven corrosion of hinges, rollers, and springs; storm-related track misalignment; and heat expansion that opens gaps in weatherstripping and panels. Check lubrication and weatherstripping monthly, inspect tracks and hardware seasonally, and have a technician examine springs, cables, and the opener annually. Photograph anything that looks off so a repair can be diagnosed remotely and the right parts can be brought on the first visit.
Styles & brands we work with
- Raised-panel steel
- Carriage house
- Modern flush
- Full-view glass
- LiftMaster openers
- Chamberlain openers
Table of Contents
- Why Chesapeake Doors Fail Differently
- Choosing the Right Lubricant for This Climate
- Inspecting Weatherstripping for Wet Winters and Hot Summers
- A Realistic Service Interval Schedule
- Spotting Spring Tension Problems Before They Break
- Checking Tracks and Hardware After Storm Season
- What to Photograph and Document at Every Check
- Opener Maintenance and Brand-Specific Quirks
Why Chesapeake Doors Fail Differently
Chesapeake sits in a part of Virginia where the air holds moisture most of the year and the summers push temperatures high enough that metal and wood both move. That combination creates a failure pattern that looks nothing like what a homeowner in a dry climate deals with. Instead of cracked wood and sun-bleached paint being the main concern, the bigger issues here are surface corrosion on hinges and rollers, swelling in wood door panels, and weatherstripping that dries out and pulls away faster than it would in a milder zone.
The practical result is that hardware in Chesapeake wears from the inside out. A hinge that looks fine from arm’s length can have rust forming on the pin, which changes how the door rolls and puts extra load on the opener. Rollers that should spin freely start to drag, and that drag transfers stress to the springs. By the time a homeowner notices the door is louder or slower, the underlying corrosion has usually been building for a season or two.
Storm season adds a second layer. Straight-line winds and the thunderstorms that roll through Hampton Roads can flex a door enough to knock the tracks out of plumb. A track that’s off by a fraction of an inch is easy to miss, but it forces the rollers to fight the curve, and that shows up later as a door that binds halfway up.
What This Means for Your Checklist
- Plan on inspecting hardware more often than a generic annual schedule suggests.
- Treat any new noise as a corrosion or alignment signal, not just “an old door being an old door.”
- Recheck tracks after any significant storm, not only at your yearly inspection.
- Watch wood doors for swelling at the bottom rail, where moisture collects.
If you’d rather have someone look at the whole system rather than piece it together yourself, our garage door repair team can walk through the door with you and flag what’s worth watching versus what needs attention now.
Choosing the Right Lubricant for This Climate
The most common mistake in Chesapeake isn’t forgetting to lubricate – it’s using the wrong product. A light spray oil or a general-purpose household lubricant feels like it’s helping because the door quiets down for a week or two. What actually happens is that the thin oil attracts dust and grit, which sticks to the hinge pins and roller bearings. Add humidity to that grit and you’ve created a mild abrasive paste that wears the metal faster than if you’d left it dry.
The better choice is a silicone-based or lithium-complex grease designed for outdoor hardware. These stay in place, resist washing out in wet weather, and don’t collect grit the way thin oils do. They also hold up better through the temperature swings between a Chesapeake summer and winter.
What to Use and Where
- Hinges: a small dab of silicone or lithium-complex grease at each pivot point. Wipe away any that squeezes out.
- Roller bearings (not the track): a drop on the bearing, not the wheel surface. Lubricating the track itself attracts dirt and is a common misstep.
- Springs: a light coat of lubricant on torsion springs helps slow surface corrosion. Avoid over-applying; excess collects grit.
- Lock and latch mechanisms: graphite or a dry lubricant, since wet products can gum up in humid conditions.
Never use WD-40 as a long-term lubricant on garage door hardware. It’s a solvent and water displacer, not a lasting grease, and it evaporates quickly, leaving the metal exposed again. That’s the exact cycle that lets corrosion get a foothold on Chesapeake hardware.
Signs You’ve Used the Wrong Product
- A sticky, dark residue on hinges and rollers after a few weeks.
- Grit visible in the grease, especially on doors facing a driveway or alley.
- The door getting louder again shortly after lubrication.
- Rust appearing on pins even though you’ve been “keeping up” with maintenance.
If you’re not sure what’s already on your hardware, it’s worth having a technician check. Mixing incompatible lubricants can make the problem worse, and our team sees this often on Chesapeake doors that were maintained with whatever was in the garage.
Inspecting Weatherstripping for Wet Winters and Hot Summers
Weatherstripping on a Chesapeake door takes a beating from both directions. Wet winters soften and shrink the seals; hot summers dry them out and make them brittle. The result is a strip that looks intact from a distance but has stopped sealing, which lets in water, pests, and drafts. On an attached garage, that also means conditioned air escaping into the garage all year.
There are three places to check: the bottom seal (the rubber or vinyl strip along the floor), the perimeter seals along the sides and top, and the threshold where the door meets the driveway. Each fails differently.
What to Look For
- Bottom seal: flattening, cracking, or a visible gap when you look from inside with the door closed. A seal that’s lost its flex won’t recover.
- Side and top seals: shrinking that pulls the strip away from the frame, especially at the corners.
- Threshold: water pooling at the base after rain, or daylight visible under the door.
- Cracks in the strip: small fissures that widen in cold weather and let water in.
A simple test: close the door on a sheet of paper placed at several points along the bottom. If the paper slides out easily, the seal isn’t making contact. Do this after a hot week and again after a cold snap – the results often differ, which tells you the strip is losing elasticity.
Replacing weatherstripping is one of the more affordable maintenance tasks on a garage door, and it protects the rest of the system by keeping moisture out of the bottom panel and the hardware above it. If the strip is damaged and you’re not comfortable with the replacement, a technician can handle it during a routine visit. Our Chesapeake Garage Door Repair Co team treats weatherstripping as part of the whole job, not a separate add-on.
A Realistic Service Interval Schedule
A single annual inspection is a nice idea that doesn’t match how doors actually wear in this climate. Corrosion and weatherstripping failures move faster than that. Here’s a schedule calibrated to Chesapeake conditions rather than to a generic national average.
| Frequency | What to Check | Why It Matters Here |
|---|---|---|
| Monthly | Lubricant condition on hinges and rollers, weatherstripping contact, any new noise | Humidity-driven corrosion and summer heat both move quickly |
| Seasonally (4x/year) | Track alignment, roller wear, door balance test, bottom seal condition | Storm season and temperature swings stress tracks and seals |
| Annually | Spring and cable inspection, opener force and safety reversal test, professional tune-up | Springs and cables are high-tension parts that need trained eyes |
| After any major storm | Track plumb, panel alignment, door operation | Wind flex can push tracks out of line without obvious damage |
The Monthly Check (10 Minutes)
- Run the door up and down. Listen for grinding, squealing, or a change in rhythm.
- Look at each hinge for rust or a dry pin. Wipe and apply a small amount of grease if needed.
- Check the bottom seal for cracks or a visible gap from inside.
- Look at the rollers – they should spin by hand, not drag.
The Seasonal Check (30 Minutes)
- Inspect the tracks for dents, debris, or a track that’s pulled away from the frame.
- Disconnect the opener and lift the door halfway. It should stay in place without help. If it drops or rises on its own, the springs need attention.
- Check the side seals for shrinkage and the threshold for water intrusion.
- Test the safety reversal: place an object in the door’s path and confirm it reverses on contact.
The annual check is where a professional should be involved. Springs and cables are under high tension, and what you can see from the outside rarely tells the whole story. More on that below.
Spotting Spring Tension Problems Before They Break
Most homeowners find out their springs are failing when one breaks. That’s the wrong time to learn – it usually means a door stuck in the down position, a car trapped in the garage, and an emergency call. The warning signs are there months earlier if you know what to look for.
Springs carry the weight of the door. When they lose tension, the opener takes on more of the load, which makes everything work harder. That shows up in small ways long before a snap.
Early Warning Signs
- The door feels heavy when lifted by hand. A properly balanced door lifts easily. If it takes real effort, the springs are losing tension.
- The door doesn’t stay at halfway. Disconnect the opener, lift the door to waist height, and let go. It should hold. Drifting down means the springs are weak.
- The opener strains or stutters. A motor that used to run smoothly but now labors is compensating for sagging springs.
- Visible gaps in the coil. On torsion springs, a small gap between coils can indicate a fracture starting. On extension springs, look for stretched sections or a safety cable that’s gone slack.
- A door that slams at the bottom. Loss of spring tension means less control on the way down.
Here’s where to stop and call a professional. Springs are under extreme tension, and adjusting or replacing them without the right tools and training is genuinely dangerous. There’s no safe way to “test” a spring beyond the balance check above. Anything past that is a job for a trained technician. Our spring repair service in Chesapeake exists specifically because this is a high-tension job that generalist handymen often decline.
Our technicians have up to 15 years of experience, and spring work is one of the areas where that experience matters most. If a spring has already broken, don’t try to force the door open – call for emergency service and let someone with the right equipment handle it.
Checking Tracks and Hardware After Storm Season
After a strong storm front moves through, the door may still open and close. That doesn’t mean the tracks are fine. Wind flex can push a track out of plumb by a small amount, and the door will keep working for a while – just with more friction and more stress on the rollers and opener. Left alone, that misalignment accelerates wear across the whole system.
Chesapeake storms tend to arrive with wind and rain together, which is a combination that works on both the tracks and the seals. Here’s a post-storm check you can do yourself.
Post-Storm Inspection Steps
- With the door closed, look down each track from top to bottom. It should be straight when you sight along it. A visible bend or a track that’s pulled away from the wall is a problem.
- Check the bolts that hold the track brackets to the frame. If any have worked loose, the track can shift as the door moves.
- Look at the gap between the door and the track on both sides. It should be even. If one side is closer than the other, the door is sitting crooked.
- Run the door slowly and watch for any point where it seems to catch or hesitate.
- Look at the bottom seal and side seals for damage from wind-driven rain or debris.
If the door is off its tracks entirely, don’t run the opener. That’s the quickest way to turn a track problem into a panel and opener problem. Call for a technician who can reset the door safely and check what else was affected.
For homeowners who want the whole scope handled in one visit – tracks, springs, opener, and panels – the team at Chesapeake garage door repair works through the door as one system rather than passing parts of the job to a subcontractor.
What to Photograph and Document at Every Check
This is the part of the checklist most homeowners skip, and it’s the one that saves the most time. A technician who sees a clear photo of a failing hinge, a track that’s out of line, or a spring with a gap can often diagnose the issue before the visit and bring the right parts. That shortens the job and reduces the chance of a second appointment for a part that wasn’t on the first trip.
What to Capture
- A wide shot of the whole door, closed. This gives context for everything else.
- Each hinge and roller, close up. Note any rust, grit, or visible wear.
- Both spring assemblies. One photo of each, taken from a safe distance without touching anything.
- The full length of both tracks. Shot from the floor looking up, so bends are visible.
- The bottom seal, inside and out. Daylight visible underneath is worth noting.
- The opener unit and its brand label. The model number helps a technician know what they’re working with.
- Any area where the door is louder than usual. A short video with sound can be genuinely useful.
What to Write Down
- The date of each check, so you can spot patterns in how quickly things wear.
- Any noise or behavior that’s new since the last check.
- The brand and model of the opener, if you can read it from the label.
- Any repairs that were done previously, and when.
When you call for service, sharing the photos and notes lets the technician decide what to bring and how much time to set aside. It’s the difference between a visit that resolves the issue and one that ends with “we’ll have to come back with the part.”
Opener Maintenance and Brand-Specific Quirks
The opener is the part of the system that gets blamed for everything and checked the least. In Chesapeake, the same humidity that affects the door hardware also gets into the opener housing, and the same storms that flex the tracks can cause brief power interruptions that reset the opener’s travel limits. Knowing the brand on your opener makes troubleshooting faster, because each unit has its own characteristic quirks.
We work on the brands that show up most often in Chesapeake garages – LiftMaster, Chamberlain, Genie, and Clopay among them – and the differences between them matter. A Chamberlain unit often needs its travel limits reset after a power event, while a Genie unit can throw a force error that looks like a mechanical failure but isn’t. Clopay doors paired with a mismatched opener can run rough even when both parts are working, because the door’s weight and the opener’s force setting aren’t aligned.
What You Can Check Safely
- Test the safety reversal monthly by placing an object in the door’s path. The door should reverse on contact.
- Check that the photo-eye sensors on each side of the door are aligned and have a clear line of sight.
- Listen for changes in how the opener sounds. A new grinding or clicking noise usually means something mechanical, not electrical.
- After a power outage, test the door’s full travel to confirm the limits are still set correctly.
What you shouldn’t do is open the opener housing or adjust the force settings by trial and error. The force setting is a safety mechanism, and raising it to make a struggling door work masks a mechanical problem that will get worse. If your opener is straining, the door needs to be checked first. Our garage door opener repair service starts with the door, not the motor.
If the opener has reached the end of its life and a replacement makes more sense than a repair, the same team handles garage door installation and can walk you through the options without pushing you toward a unit you don’t need.
Common Mistakes to Avoid
- Using thin oil or WD-40 on hinges and rollers. It feels like lubrication, but in Chesapeake humidity it attracts grit and accelerates wear. Silicone or lithium-complex grease is the right call.
- Lubricating the tracks. The tracks should stay dry. Lubricant collects dirt, and dirt in the track is one of the most common causes of a door that binds.
- Skipping the balance test. Lifting the door by hand with the opener disconnected is the single best early warning for spring problems, and most homeowners never do it.
- Waiting until the door stops working. In this climate, corrosion and weatherstripping failure move faster than a once-a-year check catches.
- Ignoring a door that’s gotten louder. A door that’s noisier than it used to be is telling you something changed. Treat noise as a signal, not background.
- Forcing a door that’s off track. Running the opener on a door that’s out of its tracks can bend panels and damage the opener. Stop and call.
- Trying to adjust or replace springs yourself. Springs are under high tension. There’s no safe DIY path here, and the risk of serious injury is real.
One more that’s specific to Chesapeake: assuming the door is fine because it worked through last summer. The corrosion that builds over a humid season often doesn’t show up as a problem until the following spring, which is why a check at the end of summer catches more than a check in the middle of it.
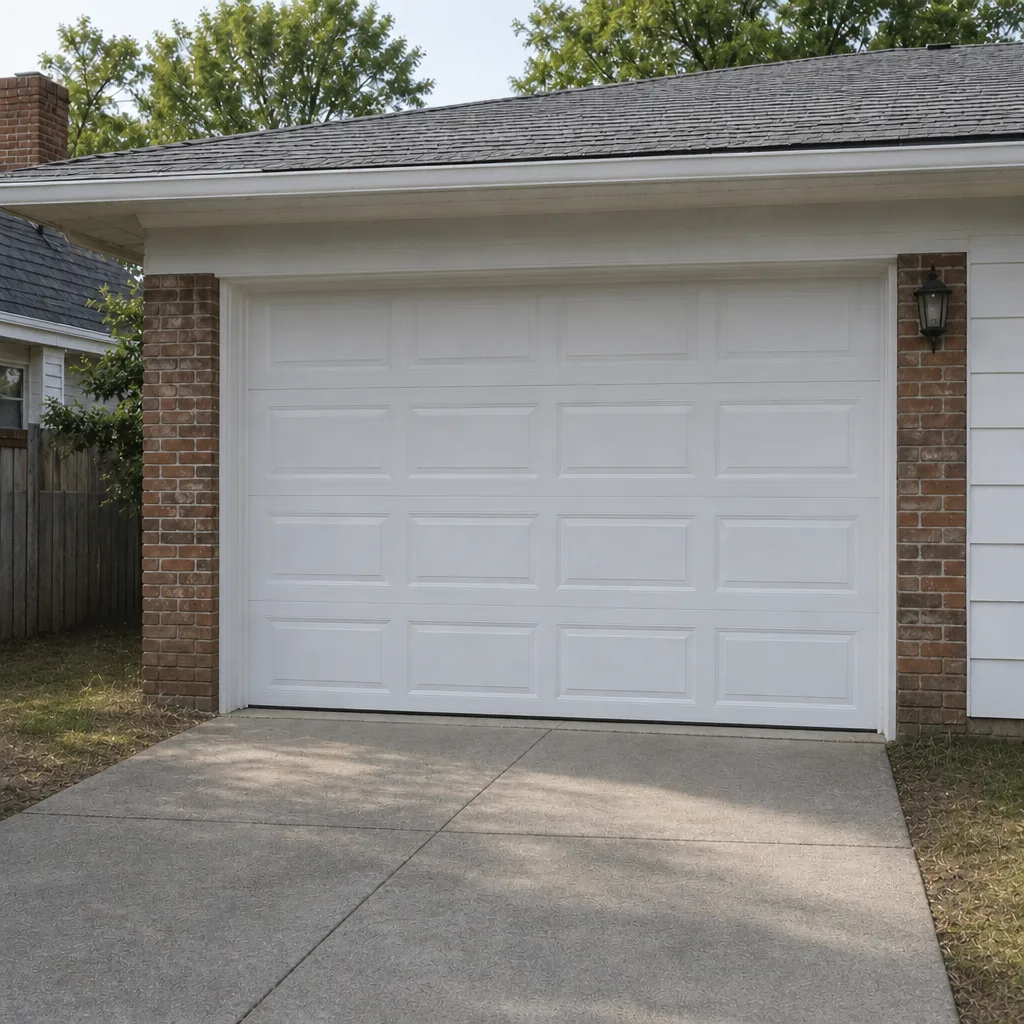
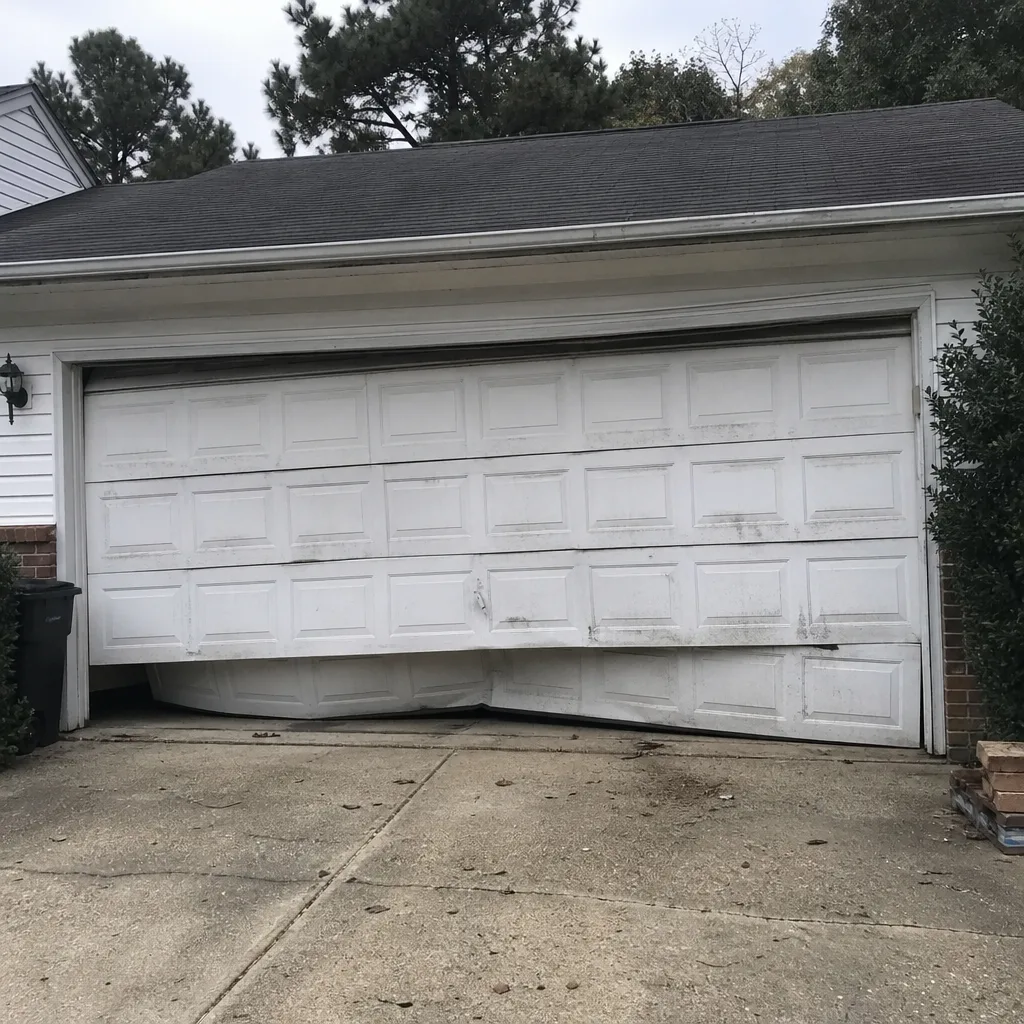
See the difference
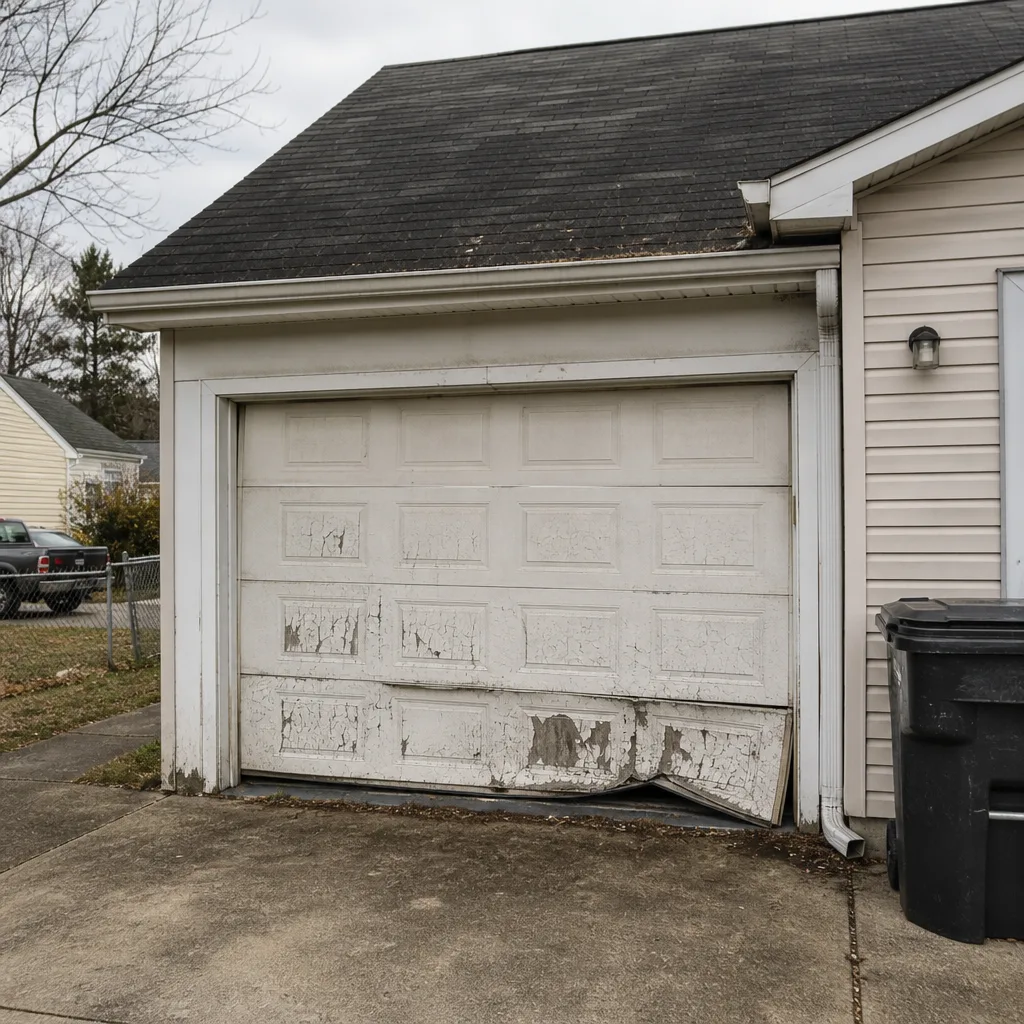 Before
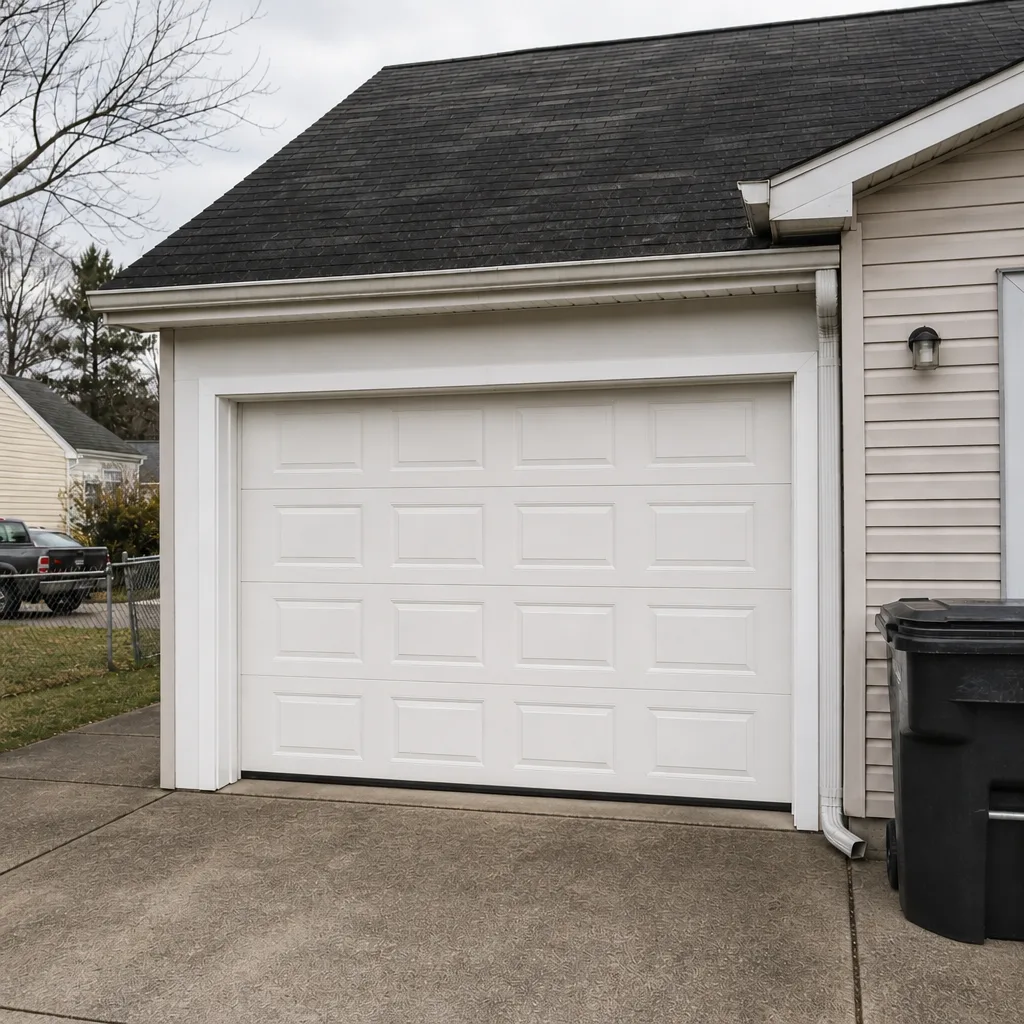 After
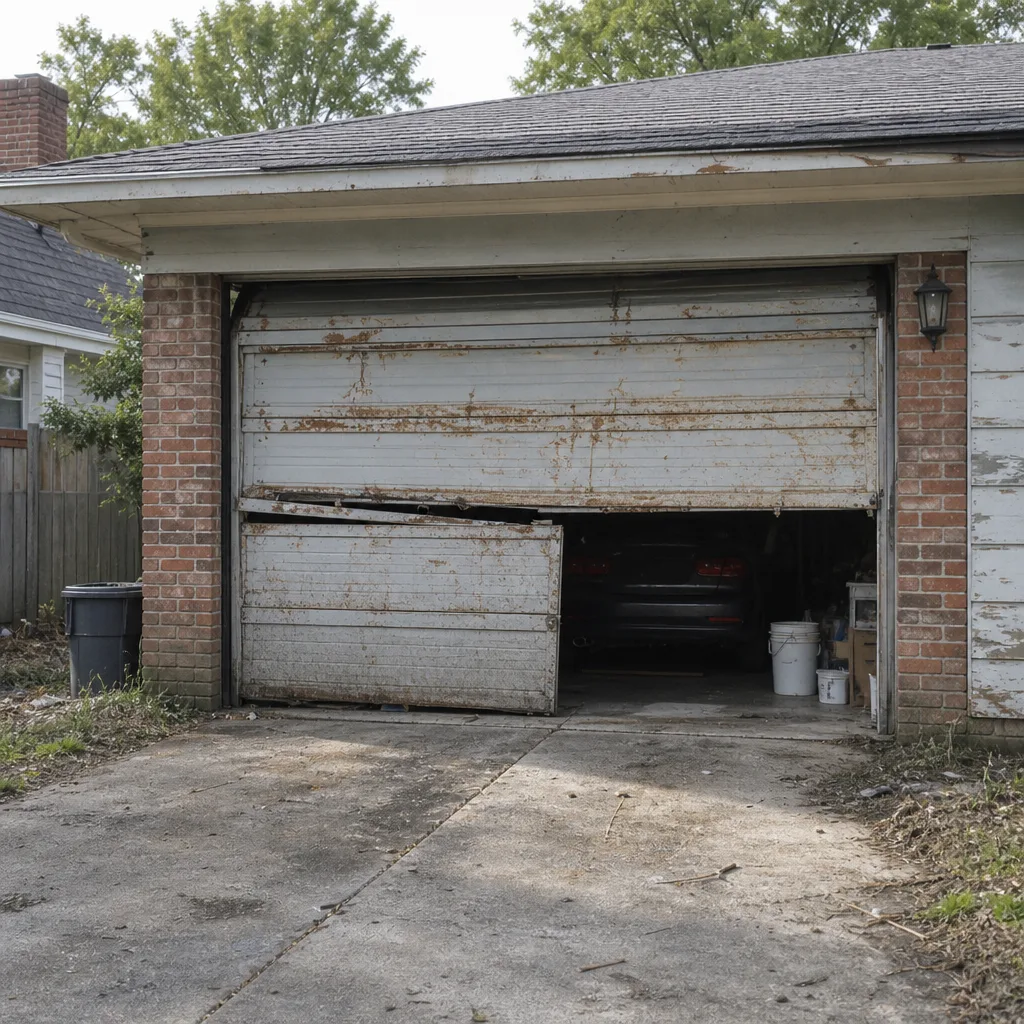 Before
 After
 Before
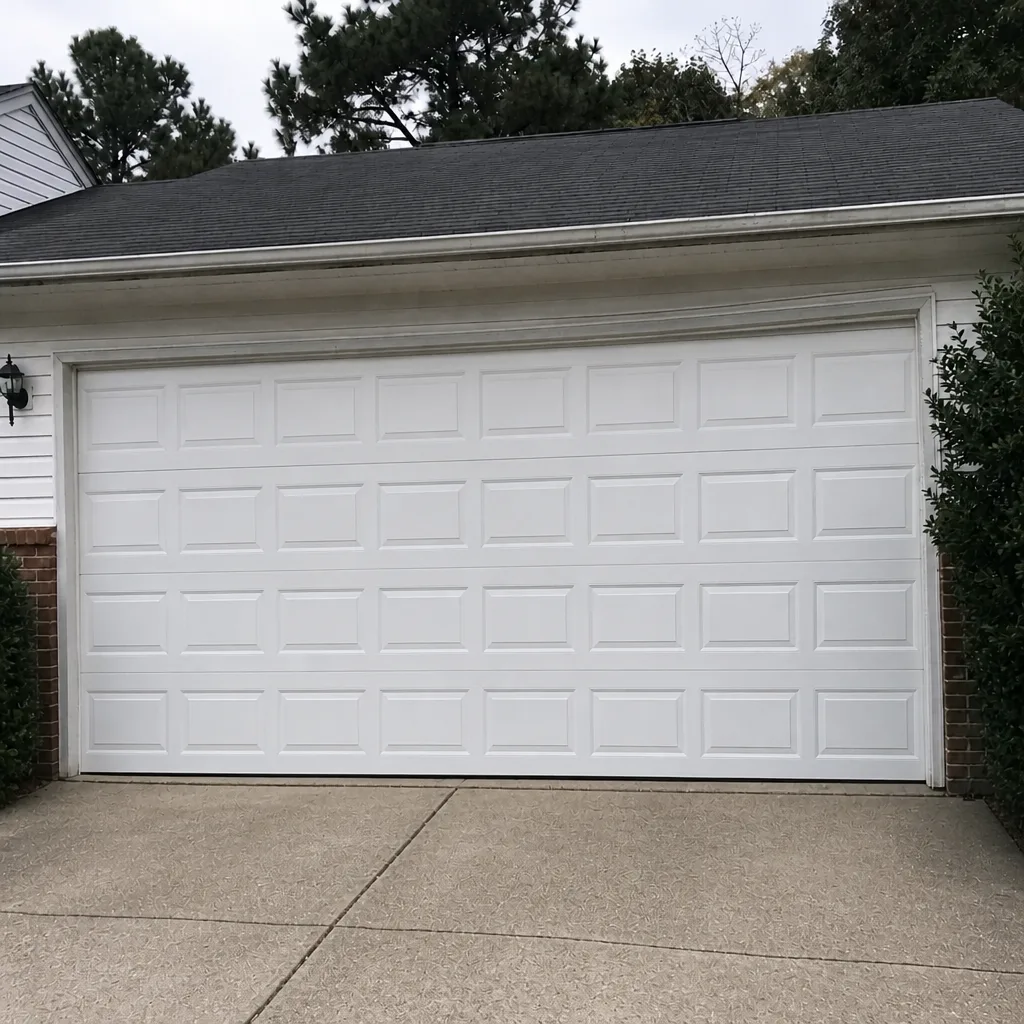 After
When to Call a Professional
Some maintenance tasks are reasonable for a homeowner to handle – lubricating hinges, testing the safety reversal, checking weatherstripping contact, taking photos. Others should be left to a trained technician. Call a professional if you notice a broken spring, a frayed or slack cable, a door that’s off its tracks, a door that won’t stay balanced at halfway, or an opener that’s straining or throwing errors. Also call if a storm has left the door operating but visibly out of alignment. Springs and cables are high-tension components and the risk of injury is genuine.
Chesapeake Garage Door Repair Co offers free estimates in Chesapeake – call (866) 476-9023. We work on the brands you actually have, and we’ll tell you what needs attention now versus what can wait.
Frequently Asked Questions
Every two to three months is realistic here, more often than the once-a-year advice you’ll find for drier climates. Humidity in Chesapeake works on hinge pins and roller bearings faster than it does in a dry zone, and a light coat of silicone or lithium-complex grease applied that often keeps corrosion from getting a foothold. Call (866) 476-9023 if you’re not sure what’s already on your hardware – mixing incompatible lubricants can make things worse.
A silicone-based lubricant or lithium-complex grease is the right choice for Chesapeake doors. Both stay in place, resist washing out in wet weather, and don’t collect grit the way thin spray oils do. Avoid WD-40 as a long-term lubricant; it evaporates and leaves the metal exposed, which is the exact cycle that lets corrosion take hold. For a professional assessment, call (866) 476-9023.
The clearest early warning is a door that no longer stays at halfway when lifted by hand with the opener disconnected. A door that drifts down, feels heavy, or slams at the bottom is telling you the springs have lost tension. Visible gaps in a torsion spring coil are another sign. Springs are under high tension, so don’t attempt to adjust them yourself – call a professional at (866) 476-9023.
No. The tracks should stay dry. Lubricant on the tracks attracts dust and grit, which builds up in the channel and causes the door to bind. Lubricate the hinge pins and roller bearings, not the track surface. If your door is binding and you’ve kept the tracks clean, the problem is more likely alignment or hardware wear – call (866) 476-9023 for a look.
Look for a bottom seal that’s flattened or cracked, side seals that have pulled away from the frame, or daylight visible under the door when it’s closed. The paper test – closing the door on a sheet of paper at several points and seeing if it pulls out easily – tells you whether the seal is making contact. If it fails, call (866) 476-9023 and we’ll replace it during a routine visit.
Yes, an annual professional inspection is worth it here because springs, cables, and opener force settings need trained eyes. Corrosion and weatherstripping wear move faster in this humidity than in a dry climate, and a yearly visit catches problems the monthly check can’t. It’s also the right time to have the door rebalanced and the opener’s safety features tested. Call (866) 476-9023 to schedule a free estimate.
The Bottom Line
A maintenance checklist only helps if it’s built for the conditions your door actually faces. In Chesapeake, that means monthly lubrication and weatherstripping checks, seasonal track and balance inspections, and an annual professional look at the springs, cables, and opener. Use silicone or lithium-complex grease, not thin oil. Do the balance test often – it’s the best early warning for spring problems. Photograph what you find so a technician can diagnose remotely. And leave the high-tension work to a trained professional. Our technicians have up to 15 years of experience, and we handle springs, openers, panels, and full installations in one place.
If you’d rather have someone walk through your door with you, call Chesapeake Garage Door Repair Co at (866) 476-9023 for a free estimate. We’ll tell you what’s worth watching and what needs attention, without pushing you toward work you don’t need.
Written by the team at Chesapeake Garage Door Repair Co.